Wednesday, April 18, 2012

The Ladybug Ball

Last year I joined pinterest so that I could plan a bridal shower for my cousin...in the course of looking for party ideas, my 5 year old daughter, Ryan, spotted a darling ladybug cake and instantly decided that her sixth birthday party was going to be a ladybug party so that she could have THAT cake!

Ryan is one of those kids (even when she was a baby) who plans an idea out completely in her head, down to every last detail, and then expects that you can duplicate what is in her head through mind reading, anyone else have a kid like that?  Luckily as she has gotten older she is better able to describe what she is thinking, which is usually a very good creative idea!

Well 10 months is a long time for a little girl to wait for her party, but the day finally came!  And since she was the bounciest, danciest, smiliest girl at the party, I think all went as she had planned.

Welcome to the Ladybug Ball!!


The birthday girl with her cake made to her exact specifications :) ...(luckily for me my sister-in-law is an amazing cake maker! Her cakes are always beautiful and delicious!)


My niece is learning to face paint, and volunteered to come paint all of the little girl's faces, they were delighted!


We took pictures with each friend.  I made the ladybug tutus as one of the party favors, because everyone needs something fancy to wear at a ball.


The party girls making ladybug puppets.


Make a wish!!!


Playing "ladybug popcorn" with the parachute, while listening to the "Popcorn" song by Bare Naked Ladies...if you have never listened to any of their children's songs you should!! They are genius! In the parachute are small red loofas (2/$1 at Target) that I turned into lady bugs by sewing on a large black pom-pom.  Their goal was to "pop" the ladybugs out by shaking the chute up and down. There are no words to describe the decible that the squeels of delight reached during this game!


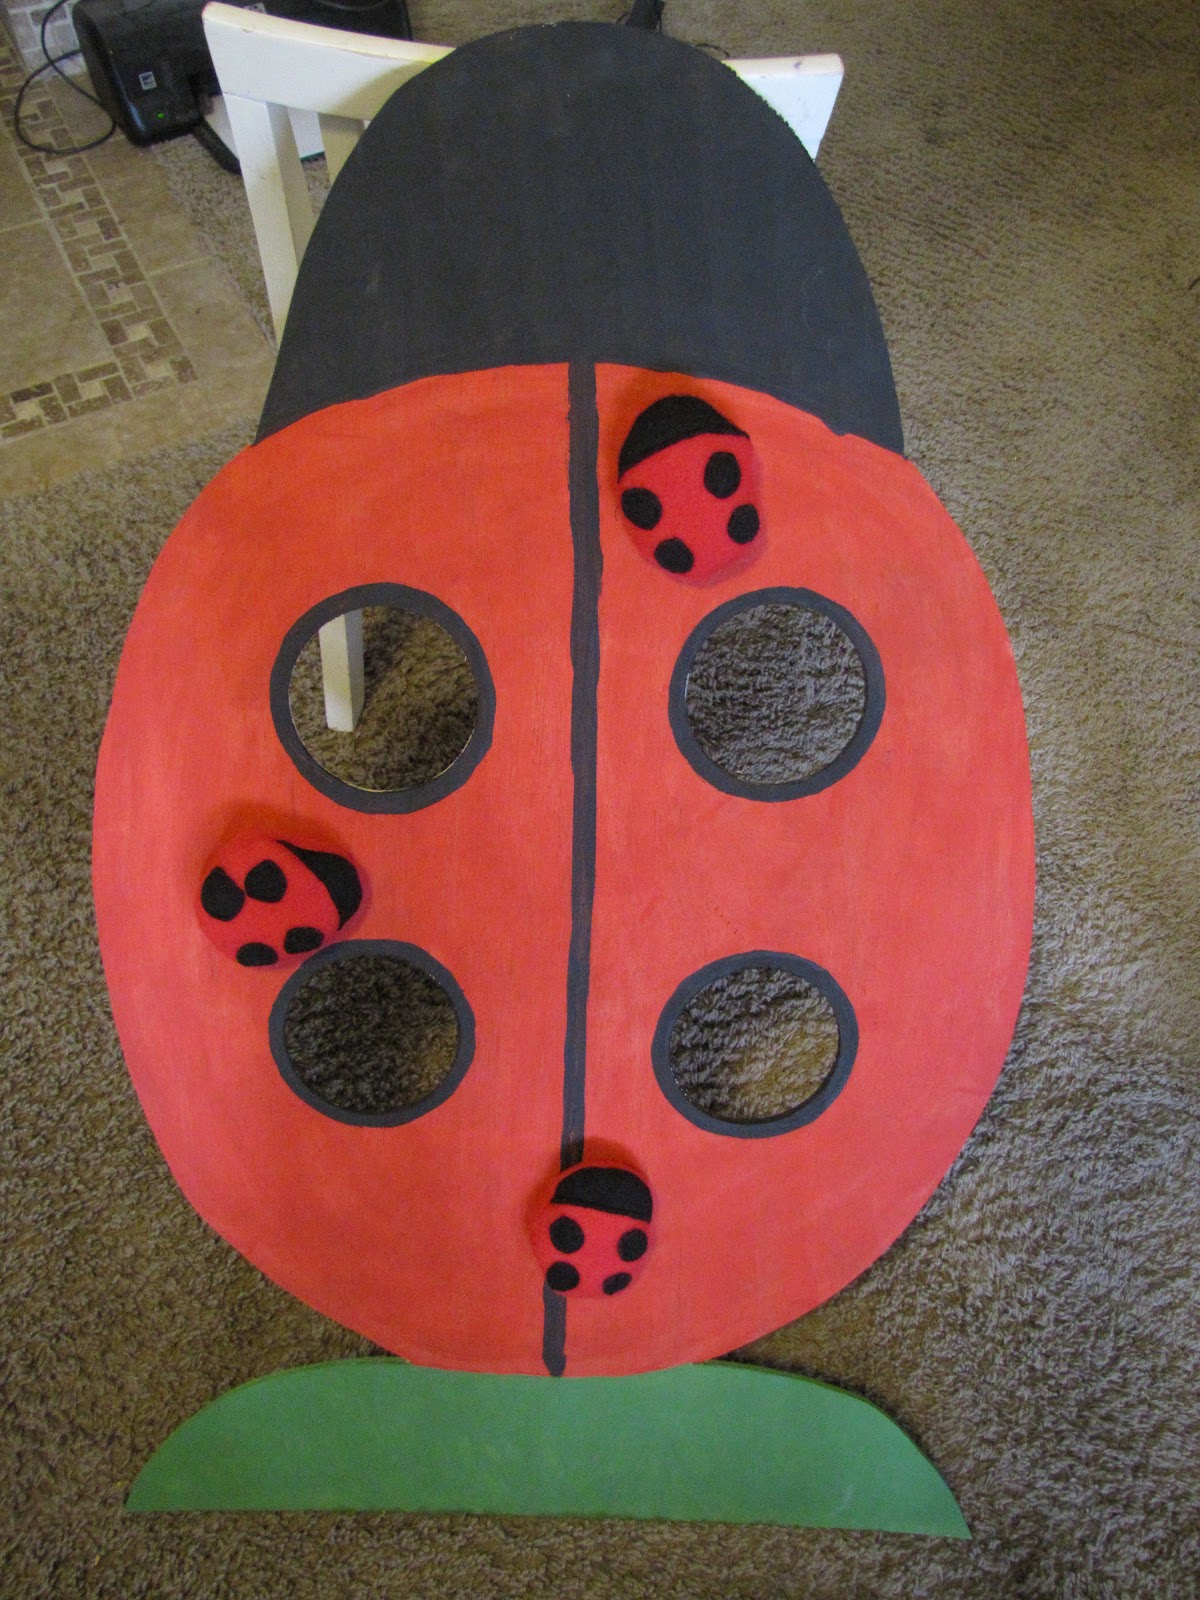
We also played bean bag toss with ladybug bean bags, but I forgot to take pictures of them playing this :(


And what ball would be complete without dancing?!


I made the ladybug goody bags out of canvas and Costco ribbon so that the girls could use them later as a purse...take home goodies included: a ladybug tutu, a baggie of ladybug pretzels, a ladybug bean bag, a ladybug loofa, ladybug puppet, some ladybug bubbles (3/$1 at Target), and ladybug silly putty ($1 at Target)


All of the girls seemed to have so much fun, especially with the dancing and the parachute!  Thanks for stopping by!


Thursday, April 5, 2012

Ladybug Bean Bags

Here it is...my first attempt at a tutorial...no judging (or at least do it silently).  I thought I'd start with something easy for me and for you...bean bags.  Only these ones aren't normal squares, they are fun little ladybugs, that I made for Ryan's ladybug birthday party.


What you need:
*red fleece
*black fleece
*black thread
*red thread
*sewing machine, or a needle, or both
*bean bag filling for your bugs (you can use actual dry small beans, or buy those little plasic pellet things in the doll making section at your local craft store)
*small, sharp "snippy" scissors

I am using fleece to make the bugs because it is soft, snuggly, and super easy to use since it doesn't fray.  Start with an oval slightly larger than the size you want your finished ladybug to be, cut out two at the same time.  Then cut a black piece the same size as your ovals.

Using ONE of your red ovals, lay it on top of your black piece, and draw out a ladybug using a sharpie.

Sew (using your sewing machine or hand sew) using your black thread on your lines...I drew a center line, do NOT sew on the center line!!! I just used it to get my dots even :)


This is what your bug shouldlook like on the red side once the lines are sewn.  As you can see, I am terrible at sewing circles on a machine, but don't worry, the imperfections will be hidden!


Here is what the black side should look like....now take  your scissors and cut around the black top of your bug, using the red as your guide, so that they very top of the head of your bug is curved.


Use your small sharp scissors to carefully cut around all of the lines you have sewn, leaving behind the head and your dots, and exposing the red underneath.  (This is where you can make your lumpy circles look nice and round).


Now the top of your ladybug should look like this...(okay, so my spots are still lumpy...but none of the kids seemed to notice :)


Use your other red oval, and sandwich the black spots inside.  Using your machine (or hand stitching) sew around the edge with the red thread, stop before you complete the oval leaving an opening.  


Turn the bug right side out through the hole, then fill it up! You may wan to use a funnel if you are using the plastic bead things (definitely saves you a lot of clean-up!).


Once your bug is full, hand stitch the opening closed...and you have a ladybug beanbag!!
Good for throwing at your big sister...


...Or you can make a nice ladybug board and play bean bag toss!