Wednesday, April 18, 2012

The Ladybug Ball

Last year I joined pinterest so that I could plan a bridal shower for my cousin...in the course of looking for party ideas, my 5 year old daughter, Ryan, spotted a darling ladybug cake and instantly decided that her sixth birthday party was going to be a ladybug party so that she could have THAT cake!

Ryan is one of those kids (even when she was a baby) who plans an idea out completely in her head, down to every last detail, and then expects that you can duplicate what is in her head through mind reading, anyone else have a kid like that?  Luckily as she has gotten older she is better able to describe what she is thinking, which is usually a very good creative idea!

Well 10 months is a long time for a little girl to wait for her party, but the day finally came!  And since she was the bounciest, danciest, smiliest girl at the party, I think all went as she had planned.

Welcome to the Ladybug Ball!!


The birthday girl with her cake made to her exact specifications :) ...(luckily for me my sister-in-law is an amazing cake maker! Her cakes are always beautiful and delicious!)


My niece is learning to face paint, and volunteered to come paint all of the little girl's faces, they were delighted!


We took pictures with each friend.  I made the ladybug tutus as one of the party favors, because everyone needs something fancy to wear at a ball.


The party girls making ladybug puppets.


Make a wish!!!


Playing "ladybug popcorn" with the parachute, while listening to the "Popcorn" song by Bare Naked Ladies...if you have never listened to any of their children's songs you should!! They are genius! In the parachute are small red loofas (2/$1 at Target) that I turned into lady bugs by sewing on a large black pom-pom.  Their goal was to "pop" the ladybugs out by shaking the chute up and down. There are no words to describe the decible that the squeels of delight reached during this game!


We also played bean bag toss with ladybug bean bags, but I forgot to take pictures of them playing this :(


And what ball would be complete without dancing?!


I made the ladybug goody bags out of canvas and Costco ribbon so that the girls could use them later as a purse...take home goodies included: a ladybug tutu, a baggie of ladybug pretzels, a ladybug bean bag, a ladybug loofa, ladybug puppet, some ladybug bubbles (3/$1 at Target), and ladybug silly putty ($1 at Target)


All of the girls seemed to have so much fun, especially with the dancing and the parachute!  Thanks for stopping by!


Thursday, April 5, 2012

Ladybug Bean Bags

Here it is...my first attempt at a tutorial...no judging (or at least do it silently).  I thought I'd start with something easy for me and for you...bean bags.  Only these ones aren't normal squares, they are fun little ladybugs, that I made for Ryan's ladybug birthday party.


What you need:
*red fleece
*black fleece
*black thread
*red thread
*sewing machine, or a needle, or both
*bean bag filling for your bugs (you can use actual dry small beans, or buy those little plasic pellet things in the doll making section at your local craft store)
*small, sharp "snippy" scissors

I am using fleece to make the bugs because it is soft, snuggly, and super easy to use since it doesn't fray.  Start with an oval slightly larger than the size you want your finished ladybug to be, cut out two at the same time.  Then cut a black piece the same size as your ovals.

Using ONE of your red ovals, lay it on top of your black piece, and draw out a ladybug using a sharpie.

Sew (using your sewing machine or hand sew) using your black thread on your lines...I drew a center line, do NOT sew on the center line!!! I just used it to get my dots even :)


This is what your bug shouldlook like on the red side once the lines are sewn.  As you can see, I am terrible at sewing circles on a machine, but don't worry, the imperfections will be hidden!


Here is what the black side should look like....now take  your scissors and cut around the black top of your bug, using the red as your guide, so that they very top of the head of your bug is curved.


Use your small sharp scissors to carefully cut around all of the lines you have sewn, leaving behind the head and your dots, and exposing the red underneath.  (This is where you can make your lumpy circles look nice and round).


Now the top of your ladybug should look like this...(okay, so my spots are still lumpy...but none of the kids seemed to notice :)


Use your other red oval, and sandwich the black spots inside.  Using your machine (or hand stitching) sew around the edge with the red thread, stop before you complete the oval leaving an opening.  


Turn the bug right side out through the hole, then fill it up! You may wan to use a funnel if you are using the plastic bead things (definitely saves you a lot of clean-up!).


Once your bug is full, hand stitch the opening closed...and you have a ladybug beanbag!!
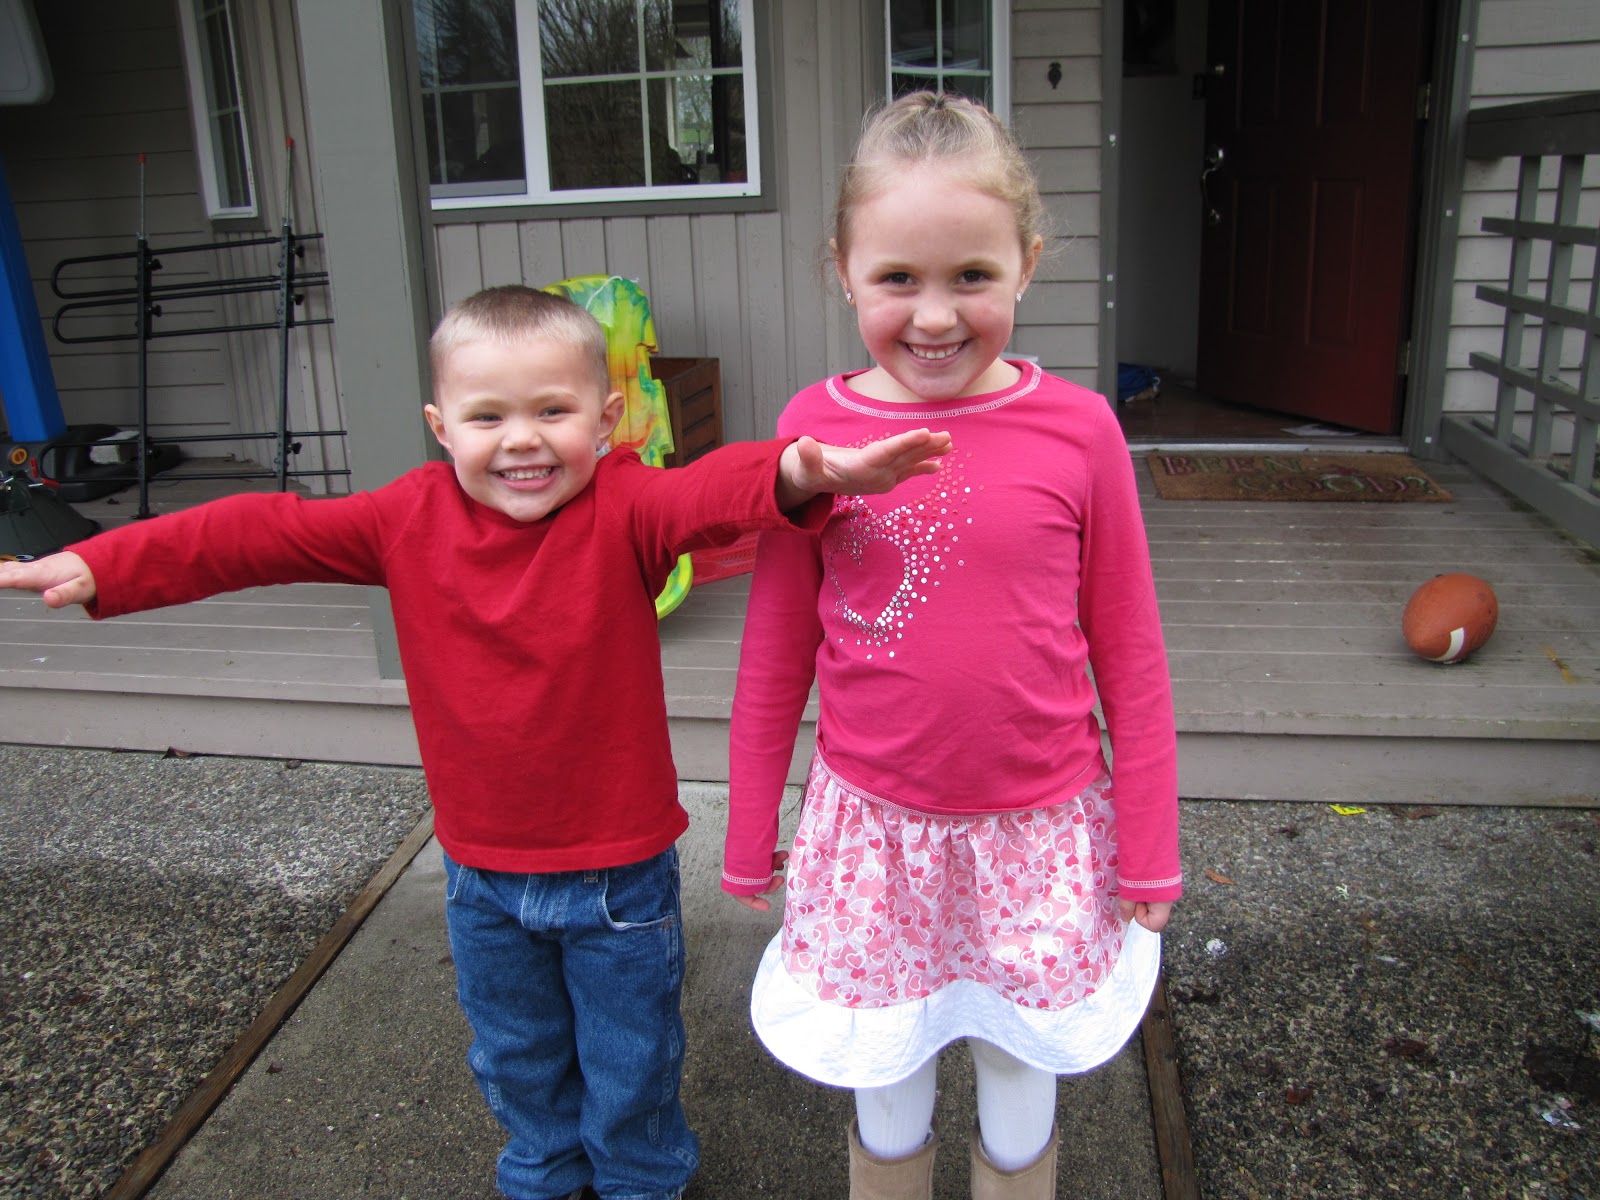
Good for throwing at your big sister...


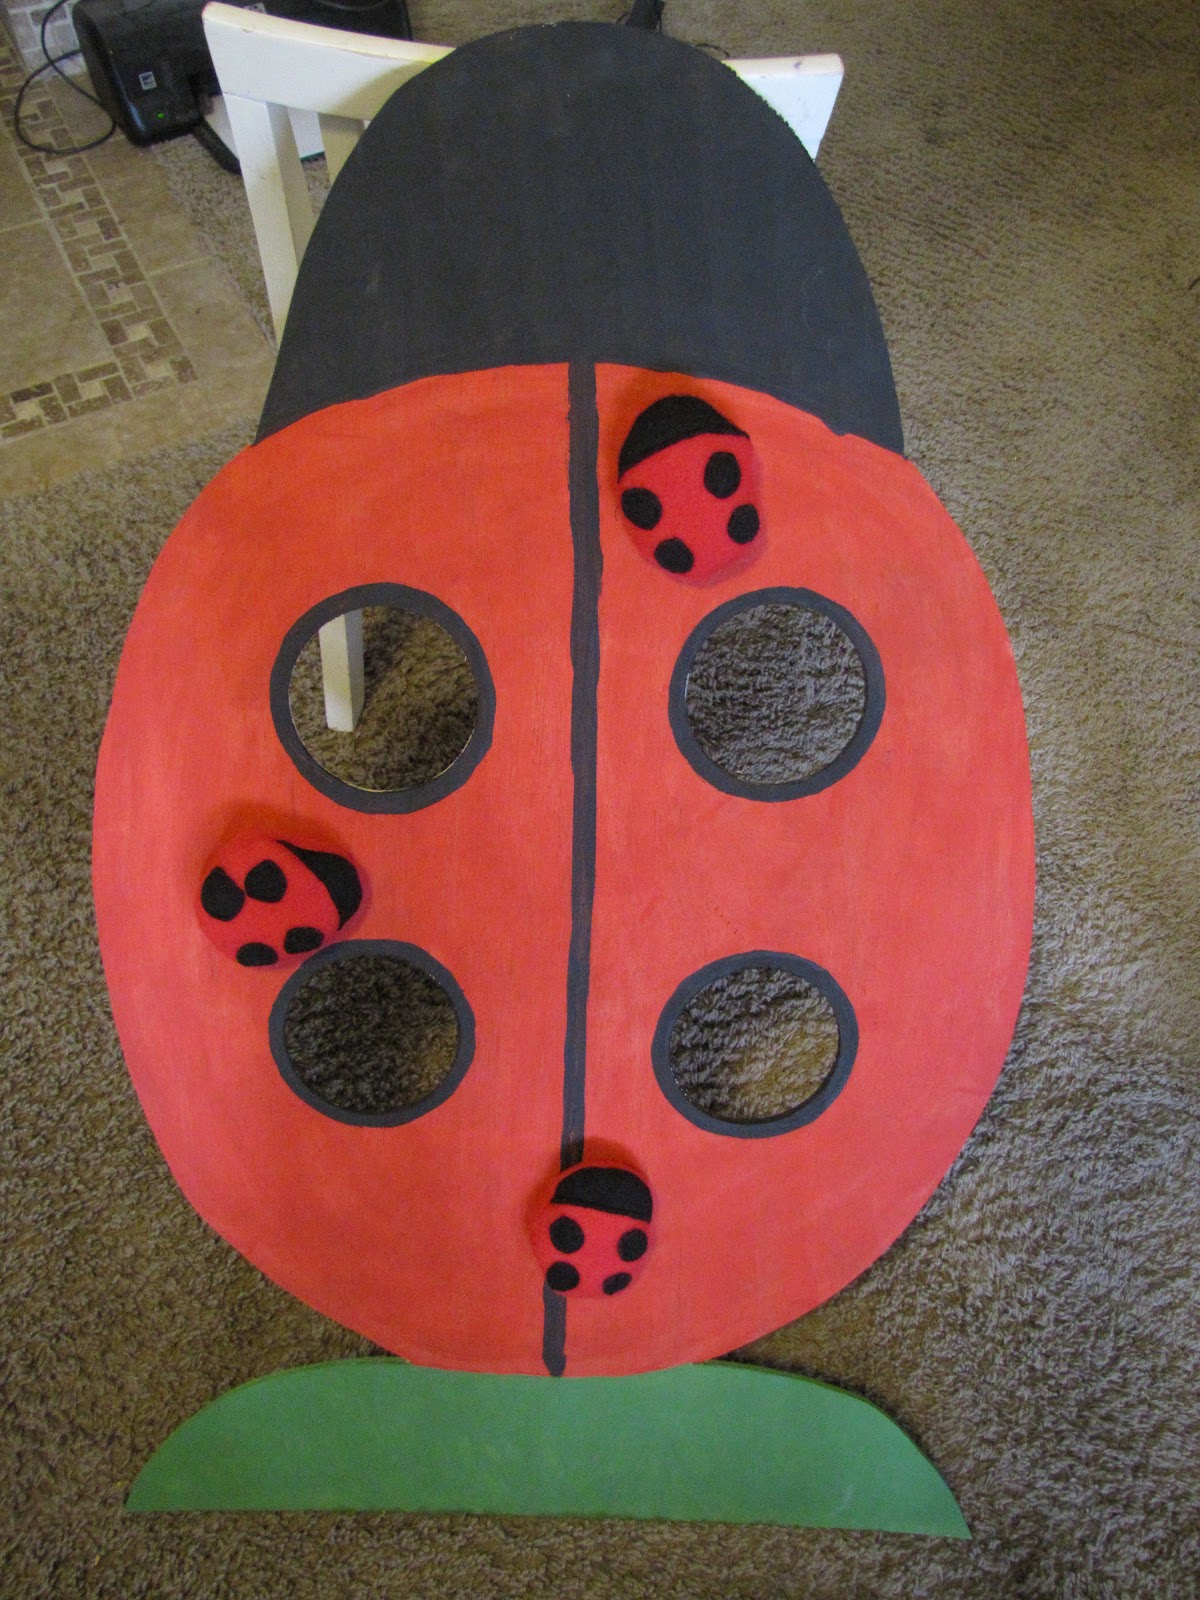
...Or you can make a nice ladybug board and play bean bag toss!

Monday, March 12, 2012

Valentine Round-UP

Okay, so Valentine's Day is done, and I haven't been on here forever...so I thought I'd do a round-up of all the lovey-dovey projects we did for Valentine's Day.  Included are links to all of the sites where I found the projects as well as their wonderful tutorials.  Enjoy!

I found this idea on Pinterest and immediately fell in love with it.

A cute heart wreath made of...you guessed it...FELT!  But it looks like lovely Valentine roses, and can add a little bit of Valentine love to your house.

Or you could give it as a gift....

Total cost for me was about $6...I used my JoAnn's coupon for the foam heart, and bought the felt on sale 3/4 of a yard should be good, and you need straight pins.  A wonderful tutorial for this project can be found at The Idea Room.  She says to use a 3 inch circle which, in case you were wondering, is the same size as a regular soup can (I used diced tomatoes).  Also, if you have a good movie to watch you can finish this project pretty fast, I made mine start-to-finish in one movie (the 6th Harry Potter) so approximately 153 minutes :)

Next up are some valentines for friends at school.  Since I just bought a new serger, we decided to sew Ryan's valentines this year.  She wrote on all of the hearts and I sewed them onto the little "baggies" which were then filled with packets of valentine fruit snacks from Target.  The idea for these came from one of my absolute favorite blogs: MADE.  All of her tutorials are unbelievably easy to follow (even for beginners) and everything turns out so cute!! You can find a tutorial for these valentines at her site.

I ended up buying WAY WAY too much fabric for the valentines, so we decided to make a cute valentine skirt for Ryan to deliver her treats in :) ...again the easiest skirt tutorial EVER!

And what Valentine outfit would be complete without a festive hair-do? This cute "heart hair" looks complicated, but really is very easy just a few ponytails and two braids...plus with a full video tutorial, I'm sure you could all figure it out :)

Hope your February was full of L*O*V*E

Friday, January 13, 2012

My Kids LOVE to Clean!!

Haha just kidding!! Who would believe that? Not anyone who has ever seen my house!! However, lately I have been following Clean Mama's blog, and been trying to follow her cleaning routine.  I have caught the organizational bug, and I am trying to get the house under control.

But there are forces working against me...mainly a 3 and 5 year old that feel the need to have the entire contents of their playroom in the livingroom/kitchen/bathroom/bedrooms/hallway...and a very handy husband who currently has 4-5 inside the house major construction projects going on, but none of them finished.

Then the other day I was desperately trying to clean something-anything, and my kids were following me around wanting to help, and they were naked as jaybirds because they had climbed out of the tub to "help", and they were fighting over the windex spray bottle and the duster and the disinfecting wipes...I decided that everyone needed their own cleaning stuff!

So, this was my fun project for the week, cleaning buckets for all!


Each bucket contains disinfectant wipes, a duster, two microfiber cloths, and a squirt bottle containing glass cleaner diluted with water.  Everything is from the dollar store, or the dollar section at Target, and everything is well labeled so that there will be no confusion over who's is who's.

And the GREATEST thing about these?! They get used!! even after several days, the kids love and use them, they will even pick toys up off of the table/shelf/floor so that they can have room to spray/dust/clean. YESSSSSSS!!!! And the bottom half of all of my windows has never looked cleaner :)

Thursday, January 5, 2012

Just Desserts

As promised, a post full of desserts...enjoy.

Cookies and milk.  The cookies were very easy to make, and out of all of the food I think the kids play with these the most.


Little chocolate cupcakes with sprinkles, these fit in a mini-muffin tin just to give you a size reference.


Frosted doughnuts with sprinkles, and a little chocolate milk to wash them down. (The doughnuts are one of my favorite felt foods :)


Saturday, December 31, 2011

Eight Little Reindeer

Taking a felt food break for a moment, I made these cute reindeer t-shirts.  Super easy, and super fast!


I have 5 nieces and nephews that live nearby, plus my two kids, the age range is 3-14...and every year their brave grandma takes them ALL out for the day to have whatever festive holiday experiences she can think up.  So this year I thought it might be fun for them all to have matching shirts (and make it easier for grandma to keep track of all of them!)...and of course grandma needed one too.


Tuesday, December 27, 2011

More Food! More Food!!

So the Christmas rush is over, and we had some extreme crafting going on at our house!! Luckily now I have a small window to take a few deep breaths before the back to school crazyness begins, and I can reflect on all the fun projects I have accomplished over the last few weeks.....Now on to some more felt food fun!

Can you honestly say you've ever seen a cute carrot?  I can!  I love how these turned out:


And what if you have a craving for a pepperoni pizza straight out of the oven? No problem!  The "crust" on the pizza and the cheese can also be used to make tacos :)


More of a breakfast food kind of person?


Don't worry, if you are getting tired of all of the healthy food and need some sweets, the next post will be full of desserts!!